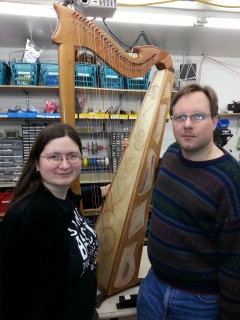
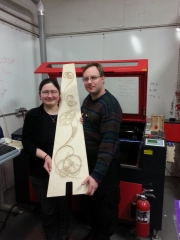
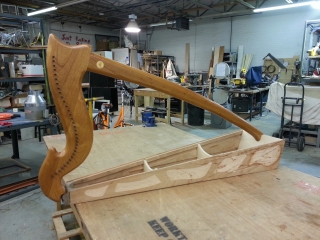
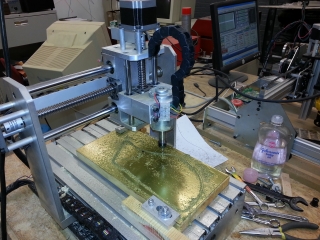
At long last, the CNC Steampunk Harp that Elizabeth and I have been building is, at least functionally, finished! In previous posts, I documented the process of routing pockets in the side of the harp using PS:One’s CNC router, and our road trip to Sector67 in Madison, WI to use their seriously awesome laser cutter. This completed the work on all wooden parts of the harp, and so I could finally assemble it.
First, I had to glue the stiffener boards to the back of the sound board and used the drill press to make holes for the 33 strings. Gluing the sound board to the harp body required a lot of fast work: driving nails to hold the sound board in place, flipping it over and trying to wipe out the dripping glue while only having access to the inside via small holes, flipping it over to drive more nails, rinse, lather, repeat… all the while, the glue is starting to set. Then I glued the trim strips in place that covered all the nails. After that glue dried, I used a 1/4″ roundover bit on a router to clean up the sides of the sound box, and… oops! To my horror, I realized I forgot a step in the directions that said I was supposed to use extra nails to reinforce the area where the sound board joins the base near the pillar. Seeing as the harp has over 1000 lbs tension on the sound board and I really don’t want it pulling itself apart, I used the pneumatic nailer to shoot brads through the lower front trim strip. Then I needed to use wood putty to cover the brads. Oh, and did I mention that the angle of the nail gun wasn’t quite right and the brads poked through the bottom? So I had to bend them over with a nail set and cover those holes as well with wood putty. You live, you learn….


